5 Easy Tips to Making Out of This World Mini Moo Business Cards
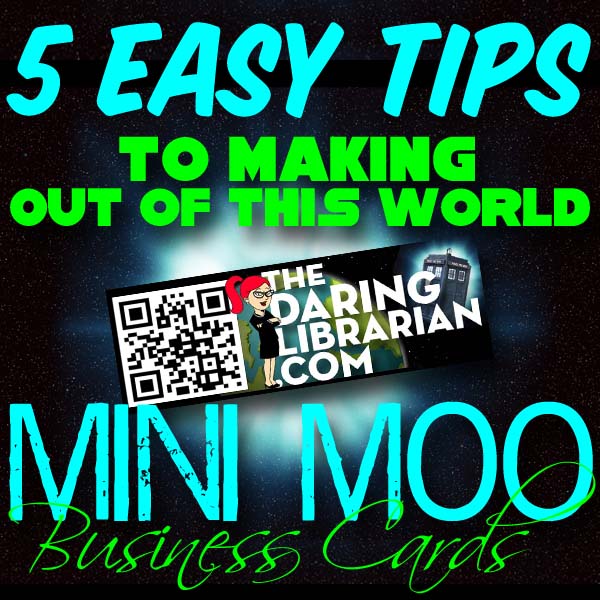
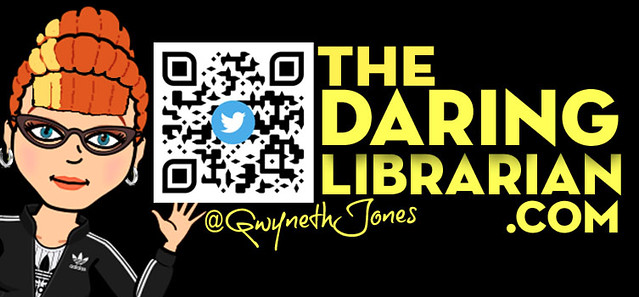
One of the best, easiest, & cheapest ways to build your web presence and PLN is a simple business card. My district doesn't supply cards for teachers or librarians so it's up to us to make that investment in our profession (and write it off our taxes!). For years I've been won over by Moo printing products and I redesign my Mini Moo cards about twice a year! As you can see above and below, my latest design is very Whovian, with a glowing flying Tardis!***(UPDATE - not anymore!) Now it's all about Bitmoji & a QR Code Monkey with a Twitter logo in the center.
DISCOUNT OFFER: Get 20% off your first MOO Order by using my Referral Code! (I will also get a discount! So, that's a win - win, my friends!)
But no matter where you get your business cards here's 5+ quick tips for making them out of this world!
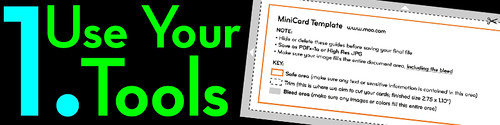
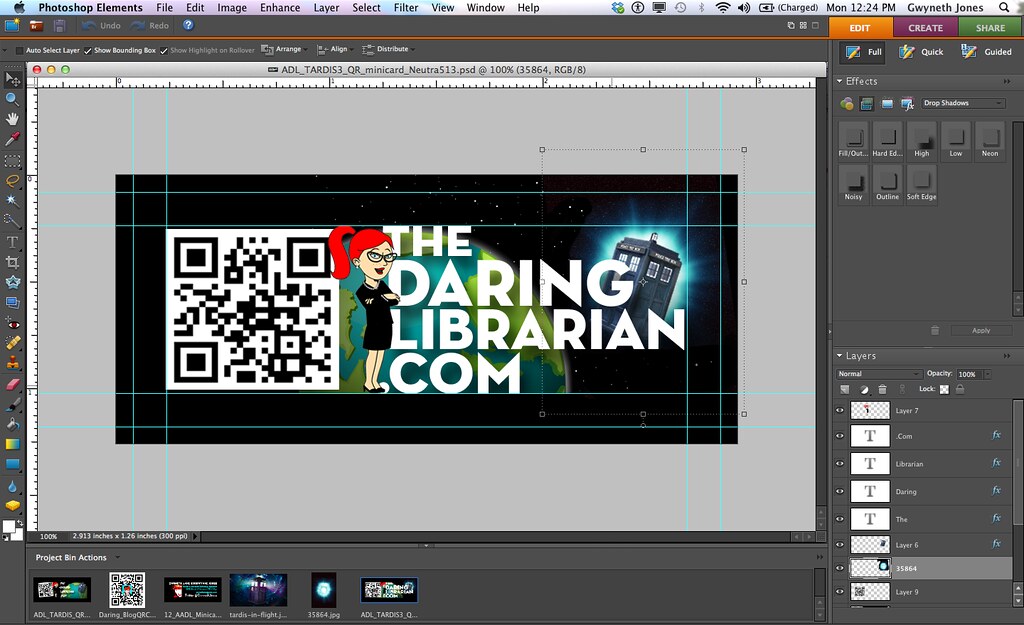
If you design your card from scratch, use a template. Moo provides templates for all their products. To use, I downloaded the template for the Mini Moo cards in .PSD format and using Photoshop Elements (For Mac & Win) and easily designed a card that fits all the parameters.
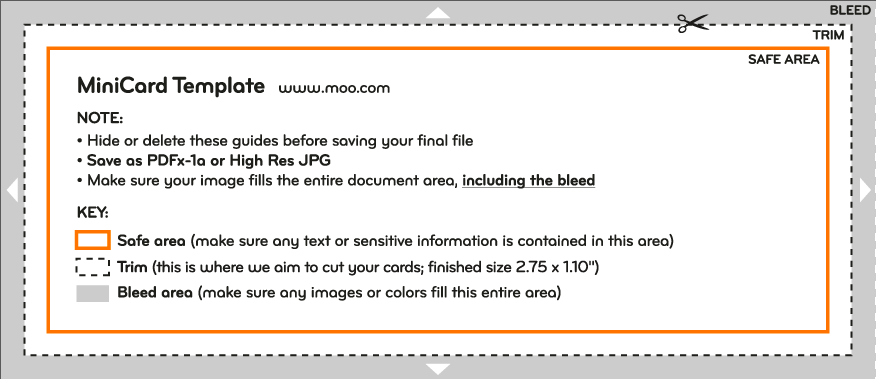

Don't have Photoshop or want it super easy? Use the built-in design tools that Moo provides!
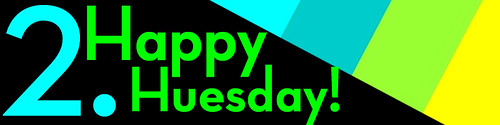 Colour Schemes Rule!
 Ok, I totally stole "Happy Huesday" from my go-to source for all things colour schemes ColourLovers where I've
 made my own custom Daring Librarian colour palette.
  recognize your "brand" at a glance. Visually coordinate your blog design, your Twitter header, business cards, Scoopit background page, and even outfits & accessories.
 For example, The Mighty Little Librarian Tiffany Whitehead effectively uses pink, black, and zebra print!
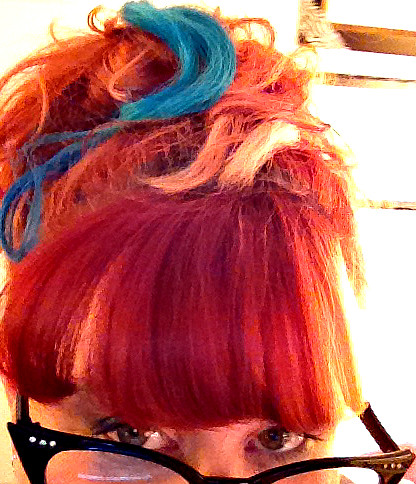
 Stumped about what to choose? You can look at the ColourLovers most loved colour palettes (adore "Cheer Up Emo Kid!") or look in your closet! What colours you are drawn to and wear all the time? I like lots of basic black with punches of brights and pops of colour. Just like this blog, I like to dress with colours such as aqua, lime green, turquoise, orange, and teal. I even go to Etsty for matching hair extensions to go with outfits! Thanks also to Tiff for that fashion tip - but of course that handy girl makes her own! (See the pink at the bottom of her hair?! Major!) PS. Librarian Tiff is a great follow on Twitter & her blog rocks, too!

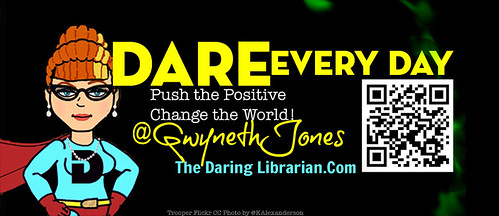
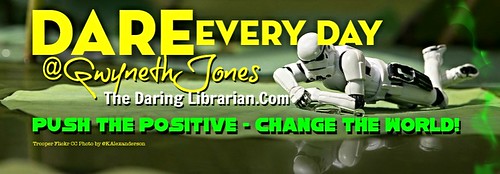
A New Animated You!
Want instant branding & a fun addition to any business card? Try an Avatar! Here's a blog post and wikipage with 23+ easy avatar generators! It's a Cartoon, It's An Avatar, It's a New Animated YOU! For example, my friend Jennifer LaGarde recently revisited and re-designed her avatar. Squee! She added pearls to it! Love them, so classy! In her post she also shares some amazing avatar apps, drawing apps, and more! If you don't read her blog already, you should
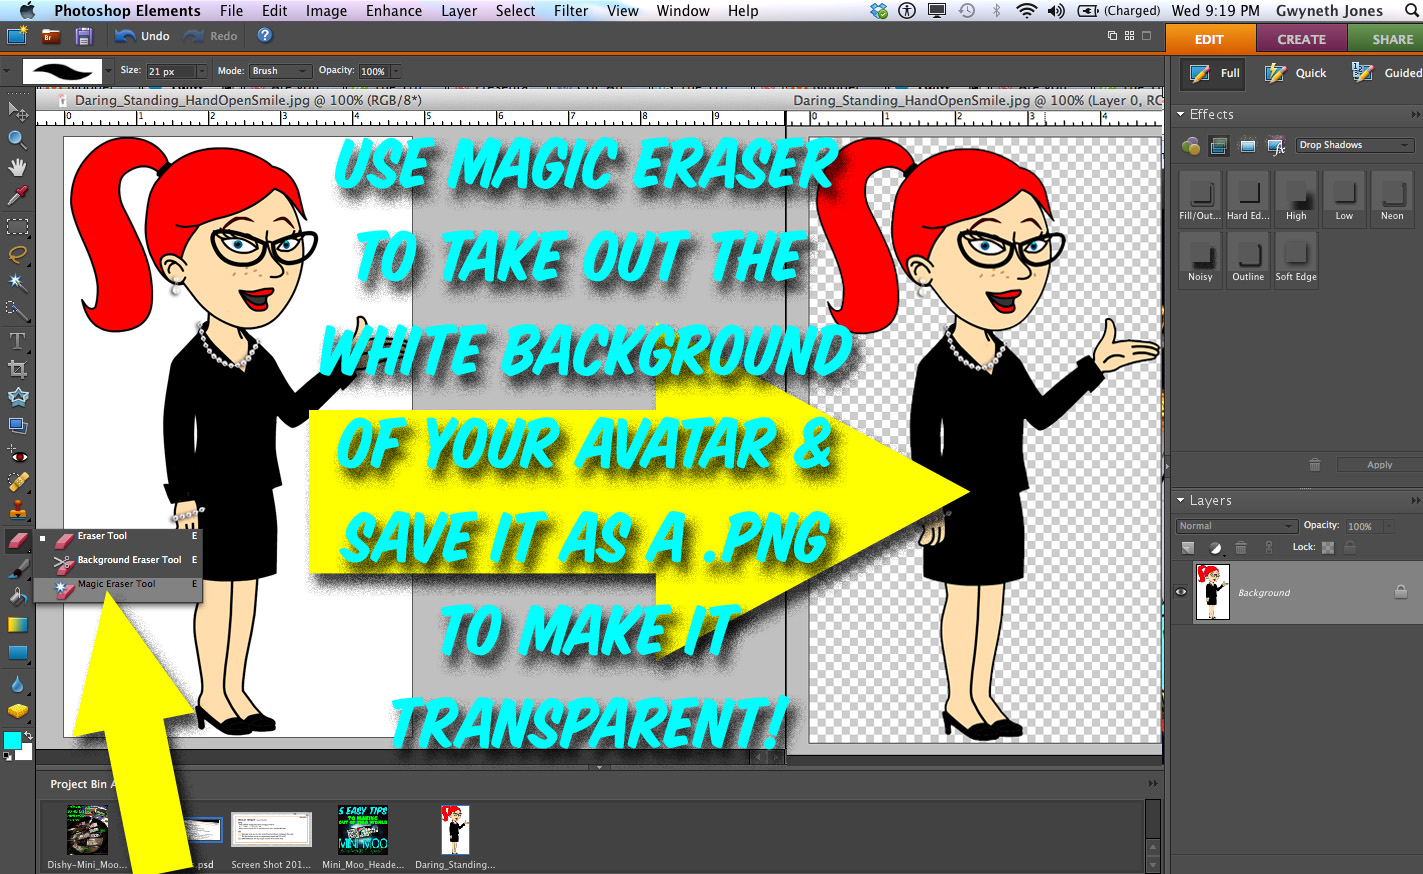
 - she's A-maze-Ing! I am constantly inspired by her enthusiasm, talent, and shameless sharing! Once you get an avatar, make sure to take a screen shot of it against a white background and then then use Photoshop Elements (or PicMonkey!) and the magic eraser tool to get rid of the white to make it transparent. Be sure to save it as a .PNG and NOT a .jpg so that it stays transparent and you can insert it anywhere! Like on a business card or in front of the Eiffel Tower! Don't have Photoshop Elements? That's ok! Why not use the free Digital Imaging site Ribbet advanced tools!?
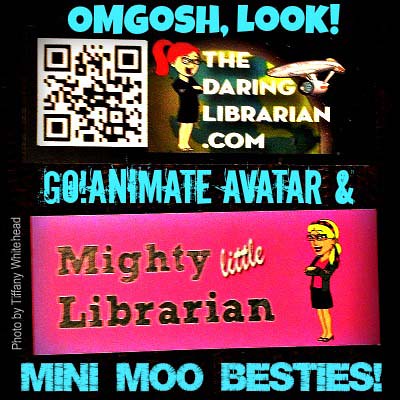
 Add a QR Code!
One of the best things I've done for my business cards was to add a QR Code. Now, I know I've blogged a LOT about QR Codes, you have only to search this blog for all the posts, but a QR Code on your card makes getting to your blog, Twitter feed, professional website, or electronic portfolio as easy as an i-nigma smart phone scan!
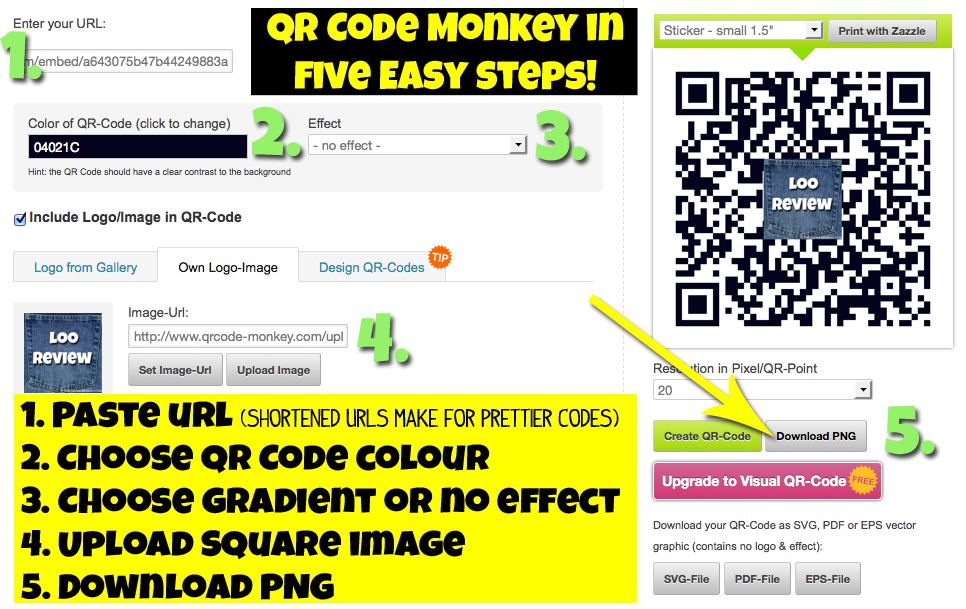
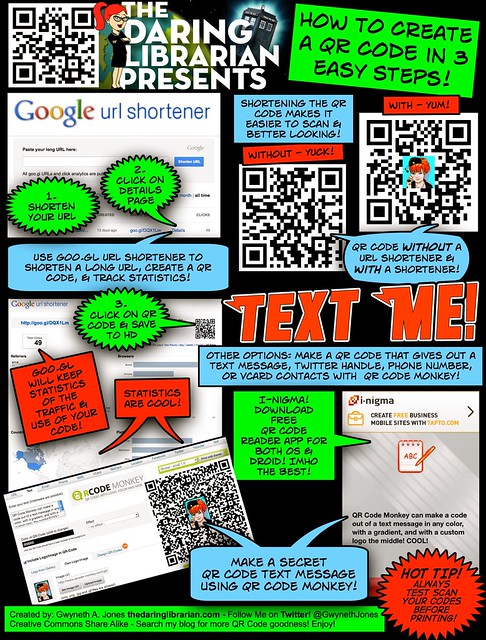 To make a QR Code that has an image embedded in it, use QR Code Monkey as I described & showed in my Loo Reviews post last month. UPDATE: QR Code Monkey is my new favourite QR Code generator! Easy, free, no need to sign up - it's the BEST! You can use your avatar in the middle of your code or your picture! Branding is not the time to be shy!
To create a QR Code you can follow my handy How To Make a QR Code in 3 Easy Steps comic tutorial. Sad face, Google is letting go of Google URL Shortener. Le sigh. We have to get used to some of our favorite sites going away. Like Vine & Wikispaces. But yeah, it's hard to let go.
 What Stuff To Include On the Back?
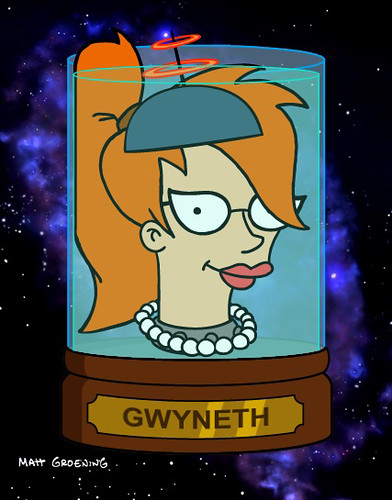
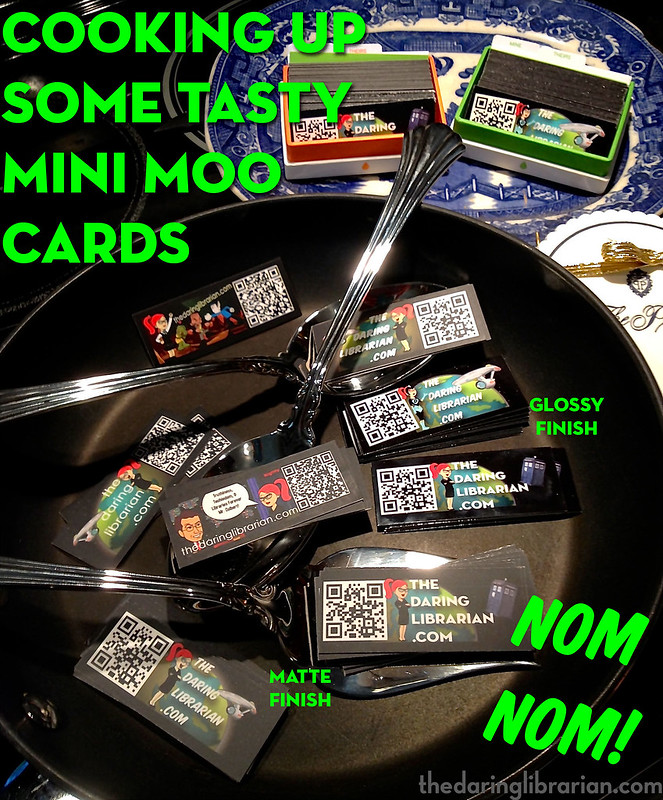
My latest card design is below with a fab glowing Tardis, my avatar, QR Code, & I ordered 200 in a glossy finish.

2017 --UPDATE My latest Mini Moo Card~ with Bitmoji Avatar!
2016-- UPDATE My latest Mini Moo Card -Gone with the Tardis!
Read why: Teaching Good - Branding Evil

 Here's an even older version.
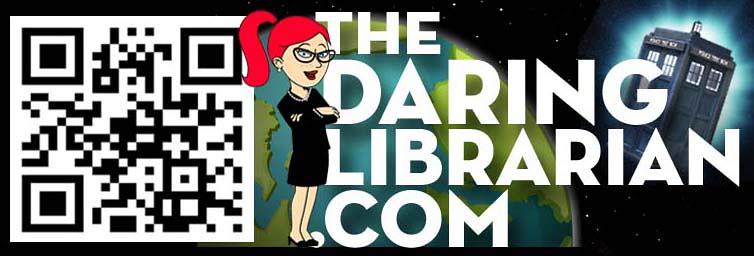
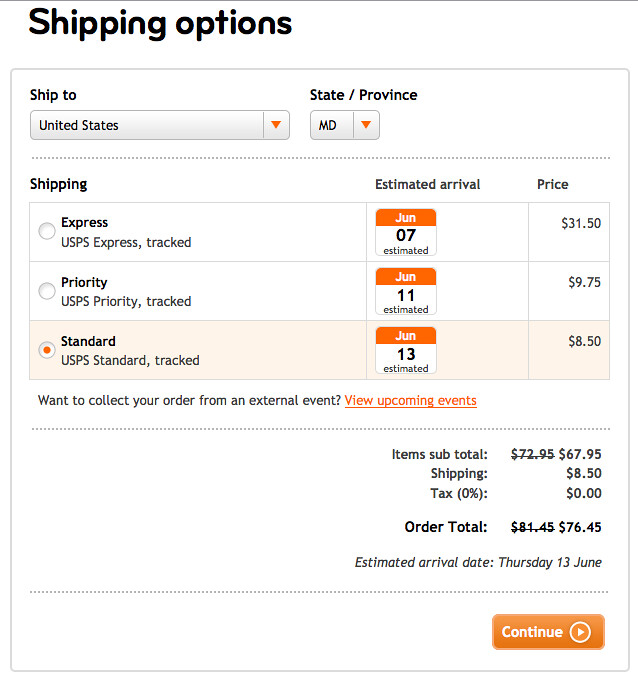
Shipping!
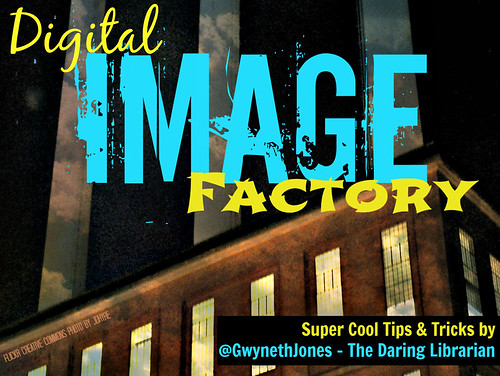 UPDATE: Want more graphic design tips for a slick sleek look? Check out my Digital Image Factory post & Slideshare!
ISTE INFO:

I also just ordered over 100 of these round stickers promoting our TL Cafe webinar series, our hashtag, Google+ Community & Twitter #TLChat LIVE! series! While they last, find me at #ISTE13 & mention this post & I'll give you one! Woohoo!
Resources:


Hi Gwyneth.
ReplyDeleteAs a librarian I enjoy your interest and different take on QR Codes. This is an excellent list that mirrors my own experience and ideas for QR Codes and how they can be used in and around classrooms. I have just recently released this ebook on QR Codes in Education, which your readership may find interesting:
http://www.dontwasteyourtime.co.uk/books/qr-codes-in-education/
All the best, David
You are the best!! Thank you for this handy post of how-to, Mini Moo Goddess =) PS: Love the new Tardis cards!
ReplyDeleteI approve of your flying TARDIS design! :-) Thanks for the tutorial. It's very helpful.
ReplyDeleteThis comment has been removed by a blog administrator.
ReplyDelete